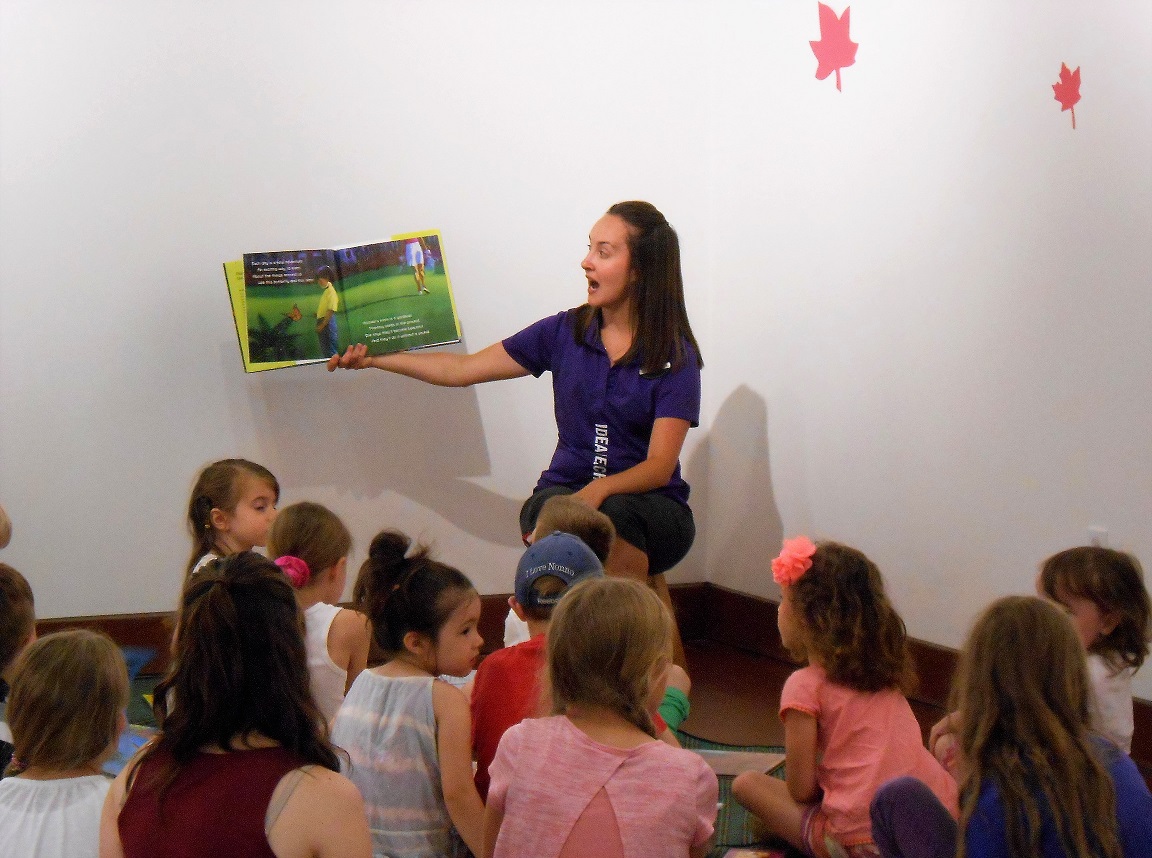
image: earthshare.org
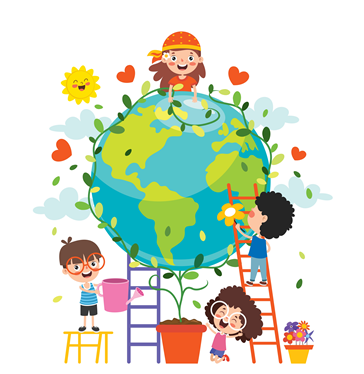
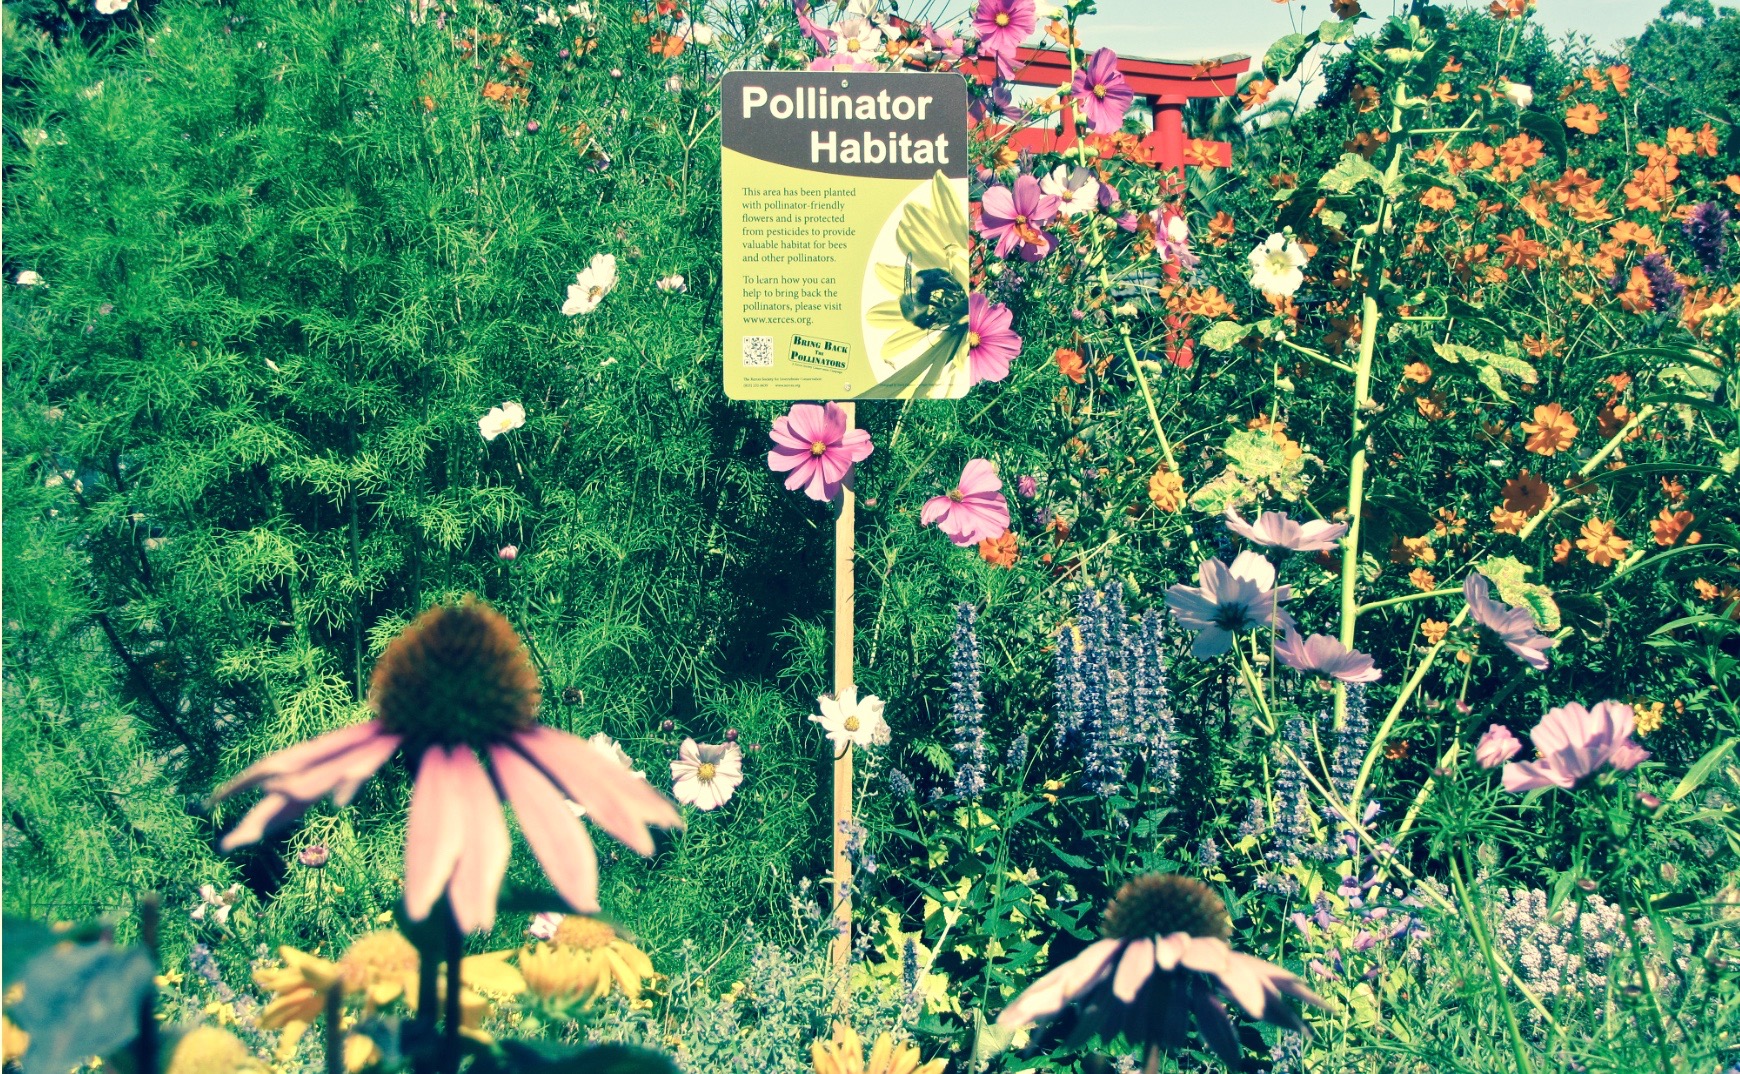
A pollinator garden is an oasis for birds, bees, beneficial bugs, and other animals that transport pollen from one part of the flower to another. Pollinators are responsible for fertilizing plants, playing an irreplaceable role in the production of seeds, fruits, and vegetables. Studies also prove a positive correlation between pollination and photosynthesis, which not only allows plants to grow and feed humankind, it creates clean air for us all to breathe. Another magical “side effect” of these busy beasts, is that they help create and maintain beautiful gardens, green spaces, and flora for all to enjoy. Simply put, pollinators are essential to our existence. Thus we need to keep creating spaces where they can thrive.
Why is this topic more timely than ever? Because the population of pollinators is declining, rapidly for some species. For instance, we have a bee crisis on our hands, with cases of Colony Collapse Disorder running rampant across the world. Without action, the impact on global agricultural production would be devastating, food insecurity would grow, and economical impediment would follow. The current commercial value of bees to crop pollination in Canada is estimated at over $2 billion annually, and across the border that total is $15 billion. You can see where a world without bees and other pollinators would leave us.
The good news, is that something can be done. By increasing the count of pollinator gardens from community to community, we provide the spaces pollinators need to flourish and to keep doing the cherished work that they do.
5 Steps to Growing a Successful Pollinator Garden in Your Community
1. Location, Location, Location
This business success truism applies to pollinator gardens too. To give your pollinator garden the best chance to grow, your location must consider the following:
- Look for a natural space with limited pedestrian foot traffic. Hummingbirds and other important pollinators will be scared away if there are too many people passing through.
- Keep away from natural spaces frequented by deer and other plant eaters.
- Seek a space with sufficient exposure to sunlight, through all seasons.
- Ensure adequate soil to grow the plants you want to grow.
- Proximity to other pesticide-free flower gardens is a big plus. The larger the overall area, the more likely pollinators are to come.
2. Form a Team and a Budget
Don’t try to do it all on your own. Instead, find people from within your community who are passionate about similar goals. These people are closer than you think. They are in a nearby community garden and urban farm. They are frequent visitors (or vendors) at your local farmers market. They get involved in elementary/secondary school functions and are found volunteering at one of the many charitable events in your area. You get the idea. By being the one to start the conversation you will light a spark that reverberates through your community, one that builds a team of like-minded individuals with a variety of interests and skills that together will complement your pollinator garden project.
With your team in place and location chosen you can now formulate your plan. This plan should clearly define a budget. The budget will be impacted by the following:
- The size of the plot of land, and the corresponding cost of soil, seeds, and plants needed to populate a garden of its size.
- The cost of tools, materials, and labor needed to construct and/or install fences, sheds, gravel pathways, fountains, birdhouses, electric outlets, and anything else deemed necessary maintain the garden.
With a defined budget, you will be able to start raising funds from community partners and foundations who may be willing to sponsor the pollinator garden. But first, follow these tips to reducing the cost of establishing a garden project, and learn more about how to get outside support.
3. Picking Plants for the Pollinator Garden
One of the first things you need to consider, is native plants. Native plants will attract pollinators that are natural to the region, which will increase the likelihood of sustainable success. Information on which plant species are native to a given province is easily accessible. For instance, you can view all plant species native to British Columbia by visiting this resource.
From there, you will be able to narrow down favorable (and attractive) plants by the following set of criteria:
- How tall will it grow?
- How much sun/shade does it need?
- Does it require normal, moist, or dry soil?
- When and how long does it bloom?
- What color and shape are the flowers?
- Is it a good source of nectar and/or pollen?
Pollinators require flowers that bloom from spring to autumn. Therefore, choose a balanced mix of species that bloom in the spring, early summer, late summer, early autumn, and late autumn. In addition, take note of these tips to preparing your garden for the winter so that it maintains through until the spring.
You may think that choosing plants that bloom colorful flowers provides an aesthetic benefit only enjoyed by us humans, but it also attracts pollinators, especially hummingbirds which enjoy red and orange varieties. Shape/form of flowers is also important, with hummingbirds, orioles, butterflies, and bumblebees positively buzzing over flowers with a tubular form. Of course, not all pollinators have the ability to access the nectar of the deep tubular forms, which is why it is good to provide a mix of flower-blossoming plants, to attract a more diverse population of native pollinators.
Here are some great plants, shrubs, and trees to consider for your diversified pollinator garden:
- Asters
- Bloodroot
- Blue salvias
- Bignonia
- Buckeye
- Butterfly Milkweed
- Catalpa
- Columbine
- Creeping Phlox
- Echinacea Pallida
- Goldenrod
- Honeysuckle
- Honey-locust
- Lupines
- Penstemon
- Pussy willows
- Redbud
- Trilliums
- Violets
- Wild Petunia
4. Growing for Your Pollinator Garden
Pollinator garden care begins with two things – your current soil situation and the plants you have.
If using an existing garden bed you’re off to a great start, as native plants will grow naturally once seeded. However, if working with unimproved soil, you’ve got a little bit more work cut out for you, especially when it comes to the threat of weeds. Fortunately, a process known as lasagna bedding (or lasagna gardening) can help. Lasagna gardening is a no-digging, no-tilling method in which plants or seeds are planted into layers of organic material that have been built up on the ground to create a rich growing environment. Follow these tips if you’re planting your pollinator garden over unimproved soil.
With your seeds and plants in the ground, you will need to provide adequate moisture. While mother nature may take care of this in climates with favorable rainfall, you will want to give your garden a good soaking once per week during dry spells. Mulching will help the garden maintain moisture, however, given that some species of bees (which prefer drier soil) nest in the ground, you will need to provide zones with and without mulch, for balance.
5. Caring for Your Pollinator Garden
Once your garden has matured (four or five months) you can ease up on the watering, while monitoring for dry spots should rainfall not accommodate the garden’s needs. Also remember that you’re working with native plants here, so no need to fertilize. Instead, stay diligent with your pruners to remove old flower heads, while being sure to leave seed heads to provide birds with the feed they need to sustain through the winter and early spring.
In addition, arm yourself with a good garden hoe because you’ll need to stay a step ahead of weeds. In moderate climates, mid to late spring requires more weeding activity so that you can attend to them before the soil dries and plants begin to grow and shade the soil. A good rule of “green thumb” is to weed once per week from mid May to mid June, then twice per week in July and August, and then once per month from there on in. By following this protocol, you will find that weed growth is reduced with each passing year, making the process easier to maintain.
The appendages built into your pollinator garden also require upkeep. This includes birdhouses, birdbaths, and person-made ponds, which should be scrubbed down once per week through the busy spring and summer seasons. If you’ve installed bee condos (how to build one) you can clean them only after new bees have emerged in May/June. Put out a second bee condo in April, next to the old one, and they will naturally inhabitant the new condo. Close up the old vacant property, scrub and clean it, and set it aside to repeat the process next year. View more on how to foster an environment where bees and wasps can coexist with other pollinators, and those working within, and living near your pollinator garden.
Pay attention to your pollinator garden perennials. Some varieties will only last for one or two years in the same spot. You will want to replace them with a new species when the time comes. The bigger the garden, the more you will have to pay close attention. Take photos so that you can note any significant differences in growth from year to year and be sure to add a comfy bench so that you (and others) can admire the fruits of your labor, noting the natural growth of an ecosystem that would not have existed if it weren’t for your efforts.
Lastly, make a habit of reading up on pollinator gardens, including these fantastic books on seed and pollinator conservation.
Learn more about the Foundation’s efforts to promote programs similar to what you’ve seen above, here. And don’t forget to sign-up to become a Friend of the Foundation.